
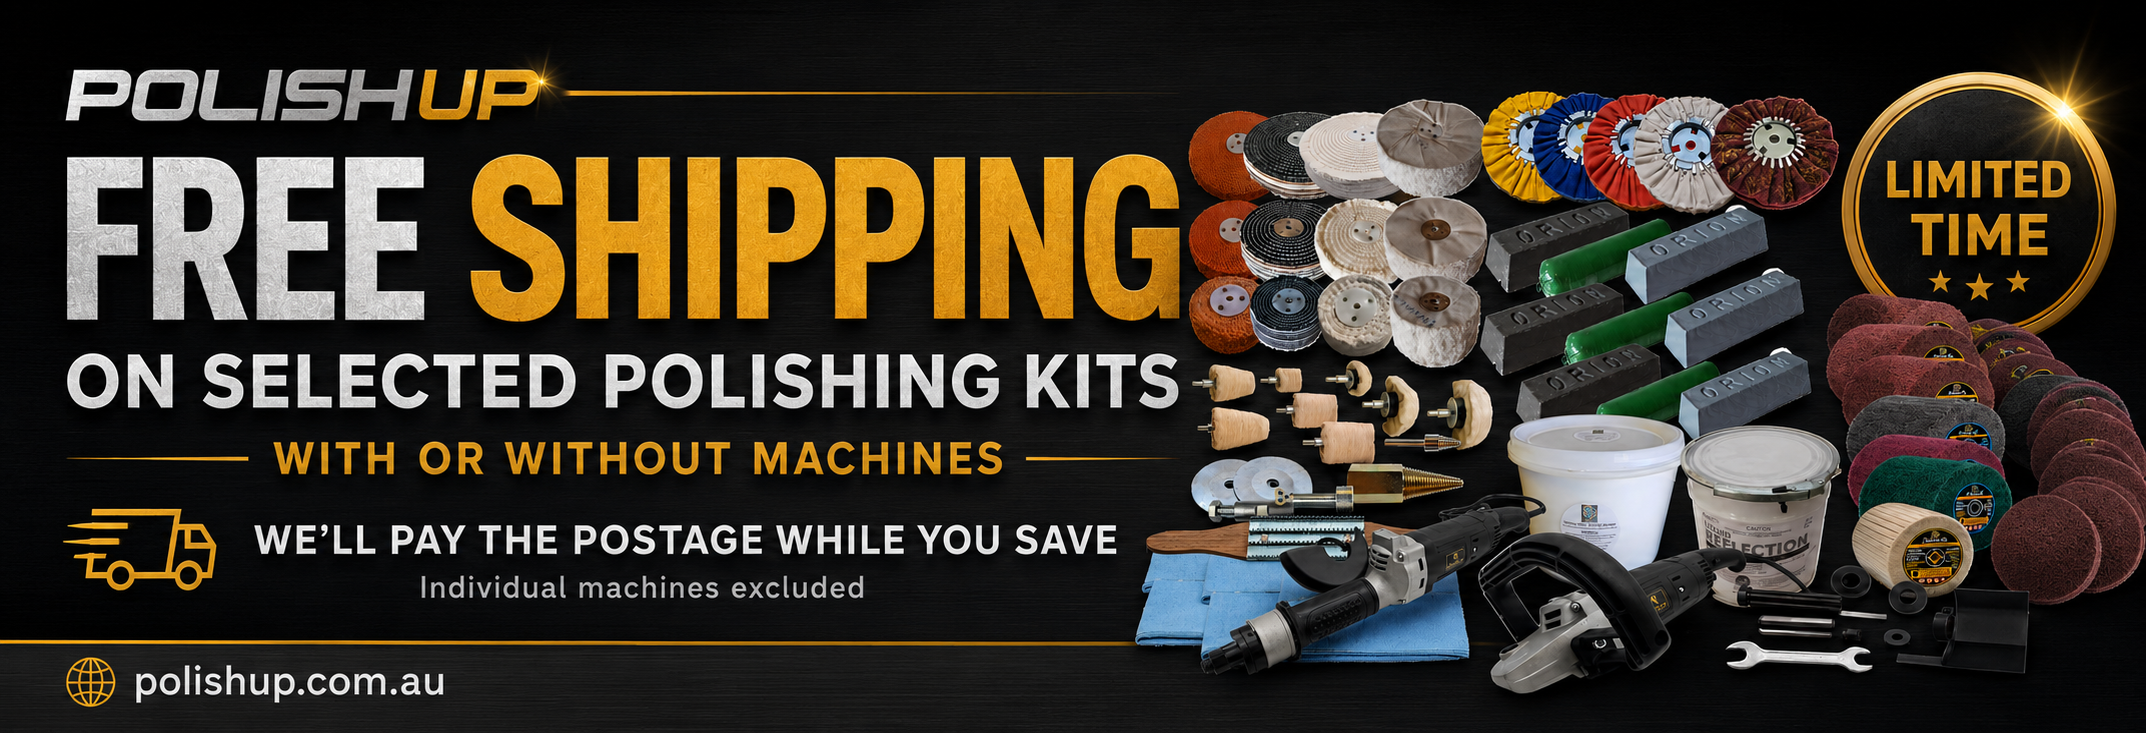
1500 Polisher on Pedistal Barrel & Polishers
Choosing The Right Metal Polishing Machine, Kit & Supplies In Australia
A practical Polish Up guide to bench polishers, variable speed polishers, pipe polishers, polishing wheels, compounds and metal polishing kits for aluminium, stainless steel, chrome, brass and other metals.
What Is The Best Metal Polishing Machine For Your Job?
The best metal polishing machine depends on the type of work you are doing. A bench polisher is ideal for controlled workshop polishing, a variable speed polisher is useful for larger surfaces and vehicle parts, while a pipe or tube polisher is designed for stainless steel tube, handrails, round bar and curved metal surfaces.
At Polish Up, we supply a wide range of metal polishing machines, polishing kits, polishing wheels, compounds and accessories for Australian workshops, fabricators, restorers, truck owners, motorcycle builders, marine users and DIY metal polishing projects.
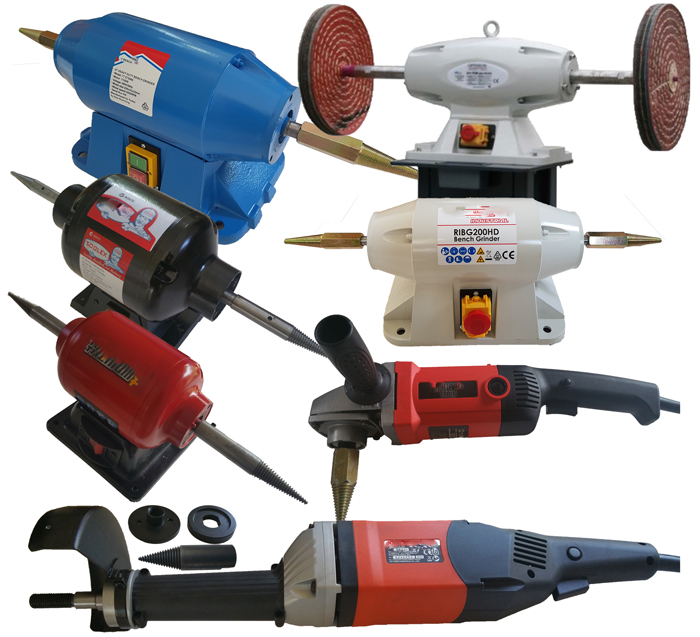
1. Bench Polishers For Workshop Metal Polishing
A bench polisher is one of the most useful machines for polishing smaller metal parts in a workshop. Because the machine is fixed in place, it gives you better control when polishing aluminium, stainless steel, brass, copper, chrome, alloy parts, motorcycle parts, ute accessories and general restoration components.
Best Used For:
- Aluminium polishing
- Stainless steel polishing
- Brass, copper and chrome finishing
- Motorcycle and automotive parts
- Ute, truck and 4WD accessories
- Workshop restoration and fabrication work
For heavier workshop work, a larger bench polisher with a pedestal stand gives more power, stability and working room. For smaller or regular polishing jobs, a 200mm bench polisher kit can be a practical choice when matched with the correct wheels and polishing compounds.
View Polish Up bench polishing options here:
1500 Watt Bench Polisher With Pedestal
750 Watt 200mm Bench Polisher Alloy Polishing Kit

Variable Speed Polisher
2. Variable Speed Polishers For Metal, Alloy & Vehicle Parts
A variable speed polisher is a flexible option when the item cannot easily be brought to a bench machine. This makes it useful for larger metal surfaces, truck parts, bull bars, tanks, ute trays, marine fittings, alloy panels and general metal polishing work.
Why Variable Speed Matters
Different metals and polishing stages often require different speeds. Cutting, colouring, finishing and final polishing may all perform better at different RPM ranges. A variable speed machine gives the user better control and helps reduce the risk of overheating, grabbing or overworking the surface.
View Polish Up variable speed polishing products here:
Variable Speed Polishers
Variable Speed Polisher With Spindle

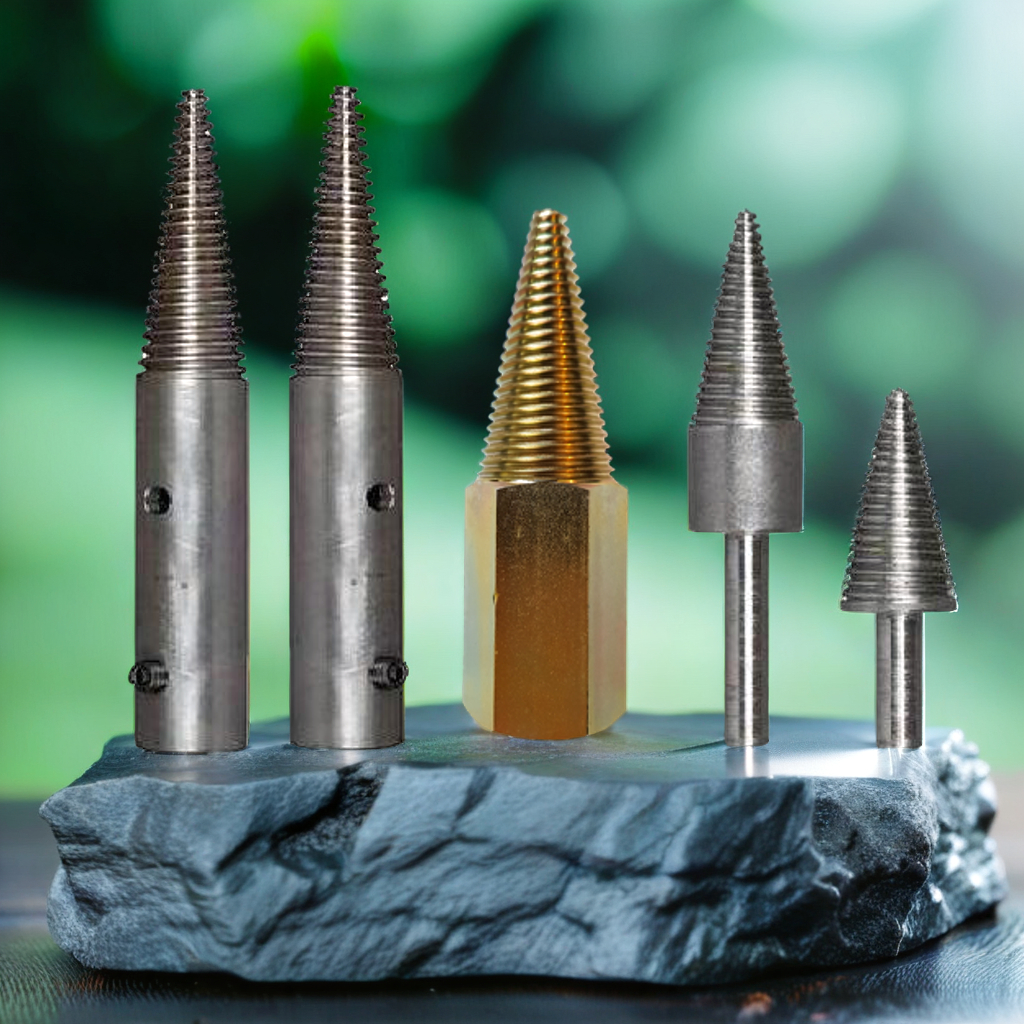
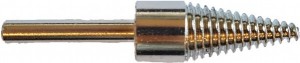
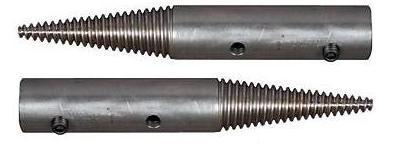
Pipe Sander Polishers
3. Pipe & Tube Polishers For Stainless Steel, Handrails & Round Surfaces
Pipe and tube polishers are designed for round, curved and cylindrical metal surfaces. They are commonly used on stainless steel handrails, exhaust parts, tube frames, pipework, marine rails, food-grade fabrication and architectural metalwork.
Best Used For:
- Stainless steel tube polishing
- Handrail polishing
- Round bar and pipe finishing
- Fabrication shops
- Marine and architectural stainless work
- Curved metal surfaces that are difficult to polish by hand
A pipe tube polishing kit usually combines the polishing machine with belts or accessories designed to wrap around the tube. This helps achieve a more even finish on curved metal surfaces.
View Polish Up pipe polishing options here:
Pipe Polishers
Pipe Tube Polisher Belt Sanding & Polishing Kit
4. Which Metal Polishing Machine Should You Choose?
| Job Type |
Recommended Machine |
Why |
| Small metal parts |
Bench polisher |
Stable, controlled and ideal for workshop polishing. |
| Aluminium parts and alloy polishing |
Bench polisher or variable speed polisher |
Useful for cutting, colouring and finishing aluminium surfaces. |
| Truck parts, tanks and larger surfaces |
Variable speed polisher |
Portable and better suited to large surfaces that cannot be moved easily. |
| Stainless tube, handrails and pipework |
Pipe or tube polisher |
Designed to work around curved and cylindrical surfaces. |
| Complete polishing setup |
Polishing machine kit |
Includes machine and selected accessories to help start the job. |

Polishing wheels
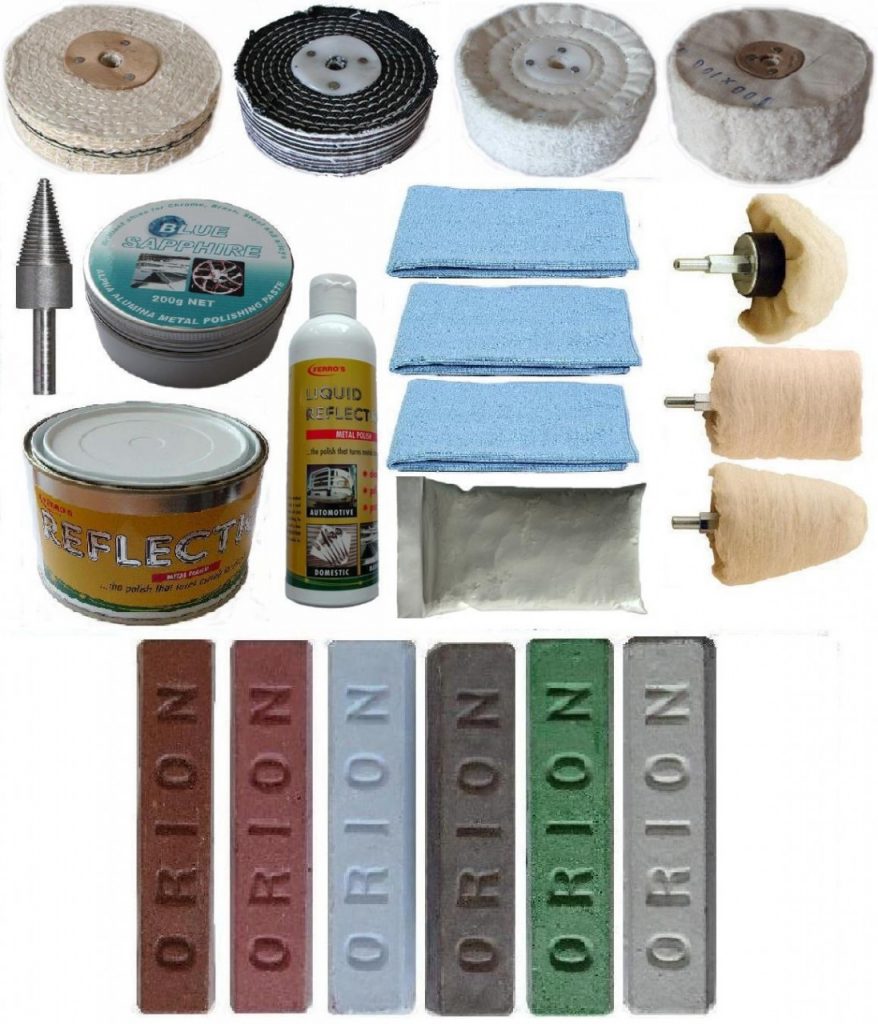
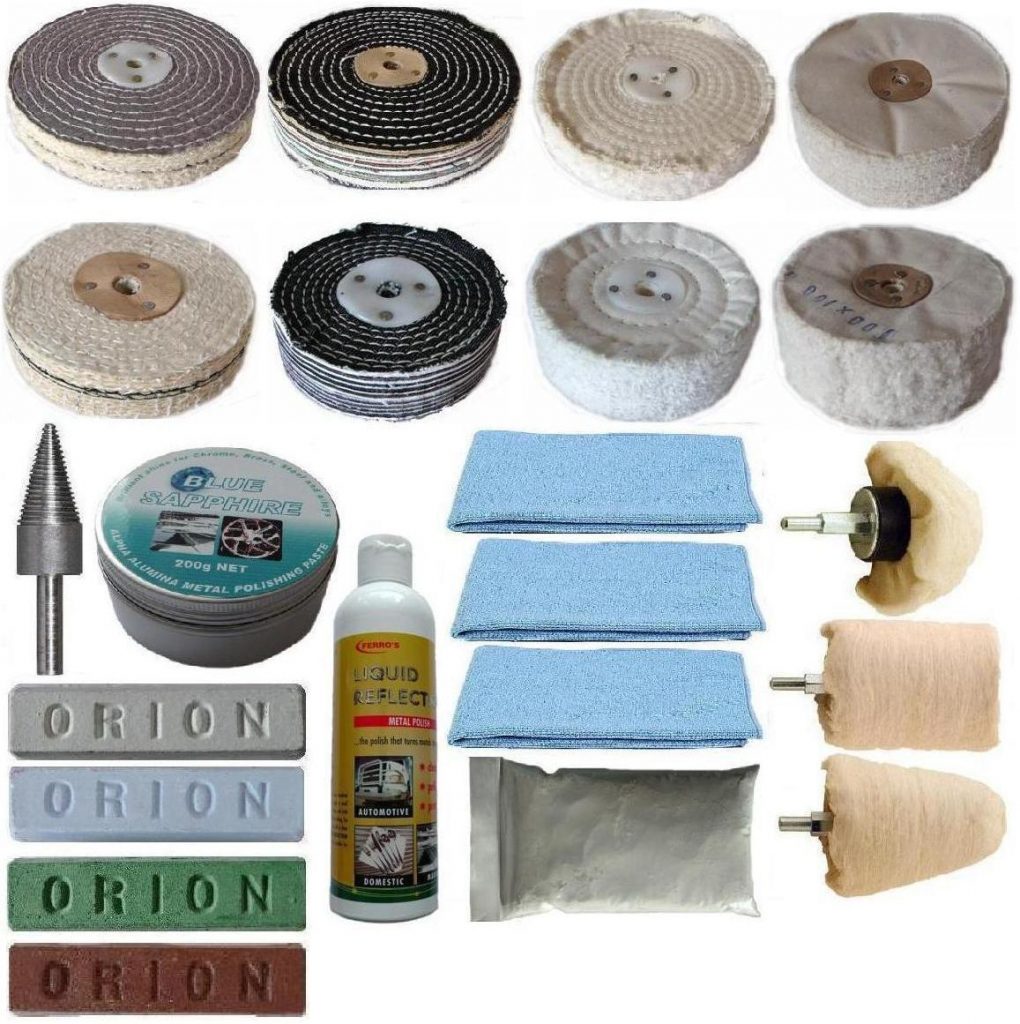
5. Polishing Wheels, Compounds & Accessories Matter
The machine is only one part of the polishing process. The final result also depends on using the correct polishing wheels, compounds and accessories for the metal and finish required.
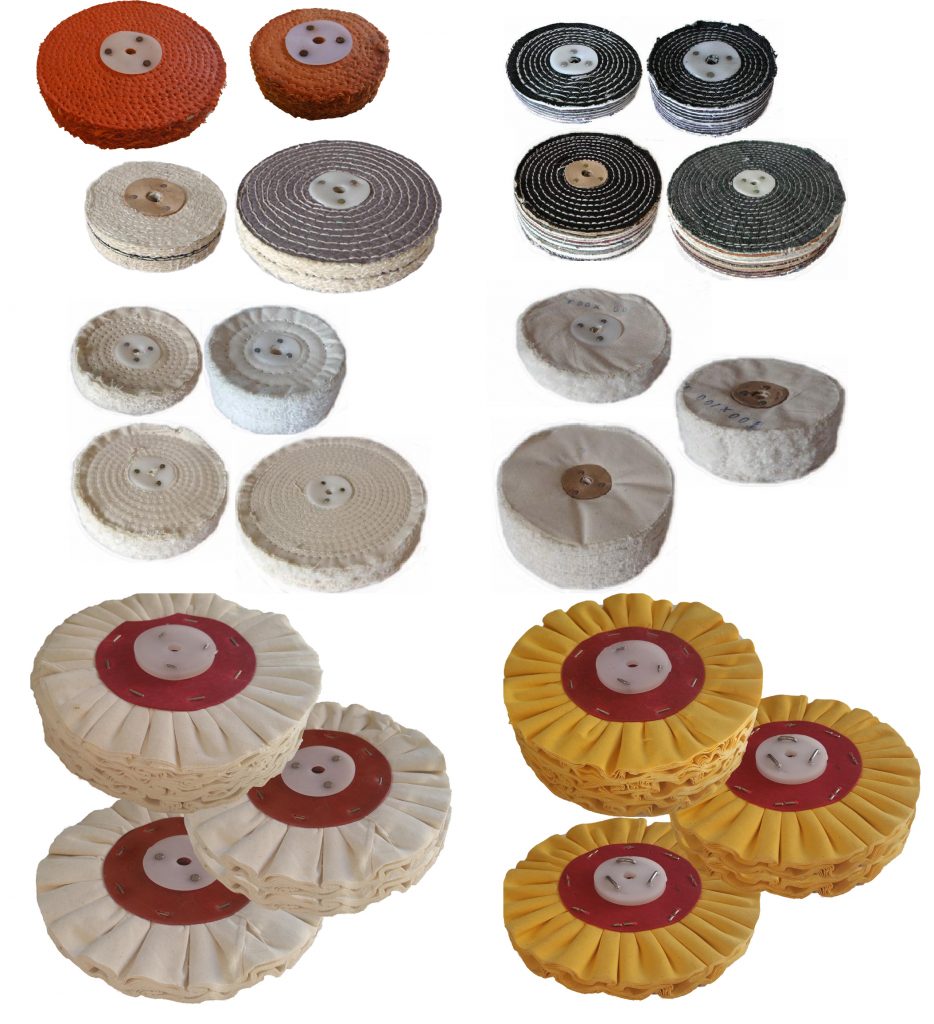
Common Polishing Wheel Types
- Sisal wheels: commonly used for heavier cutting and surface preparation.
- Stitched cotton wheels: useful for cutting and general polishing stages.
- Loose leaf cotton wheels: often used for final finishing and bright polishing.
- Airflow polishing wheels: designed to help with cooling and finishing on suitable applications.
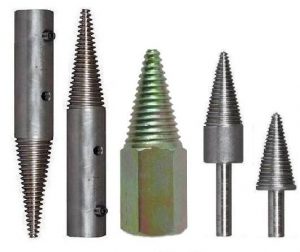
- Felt wheels and bobs: useful for detail work and selected polishing applications.
View Polish Up polishing wheels and compounds here:
Polishing Wheels
Metal Polishing Compounds
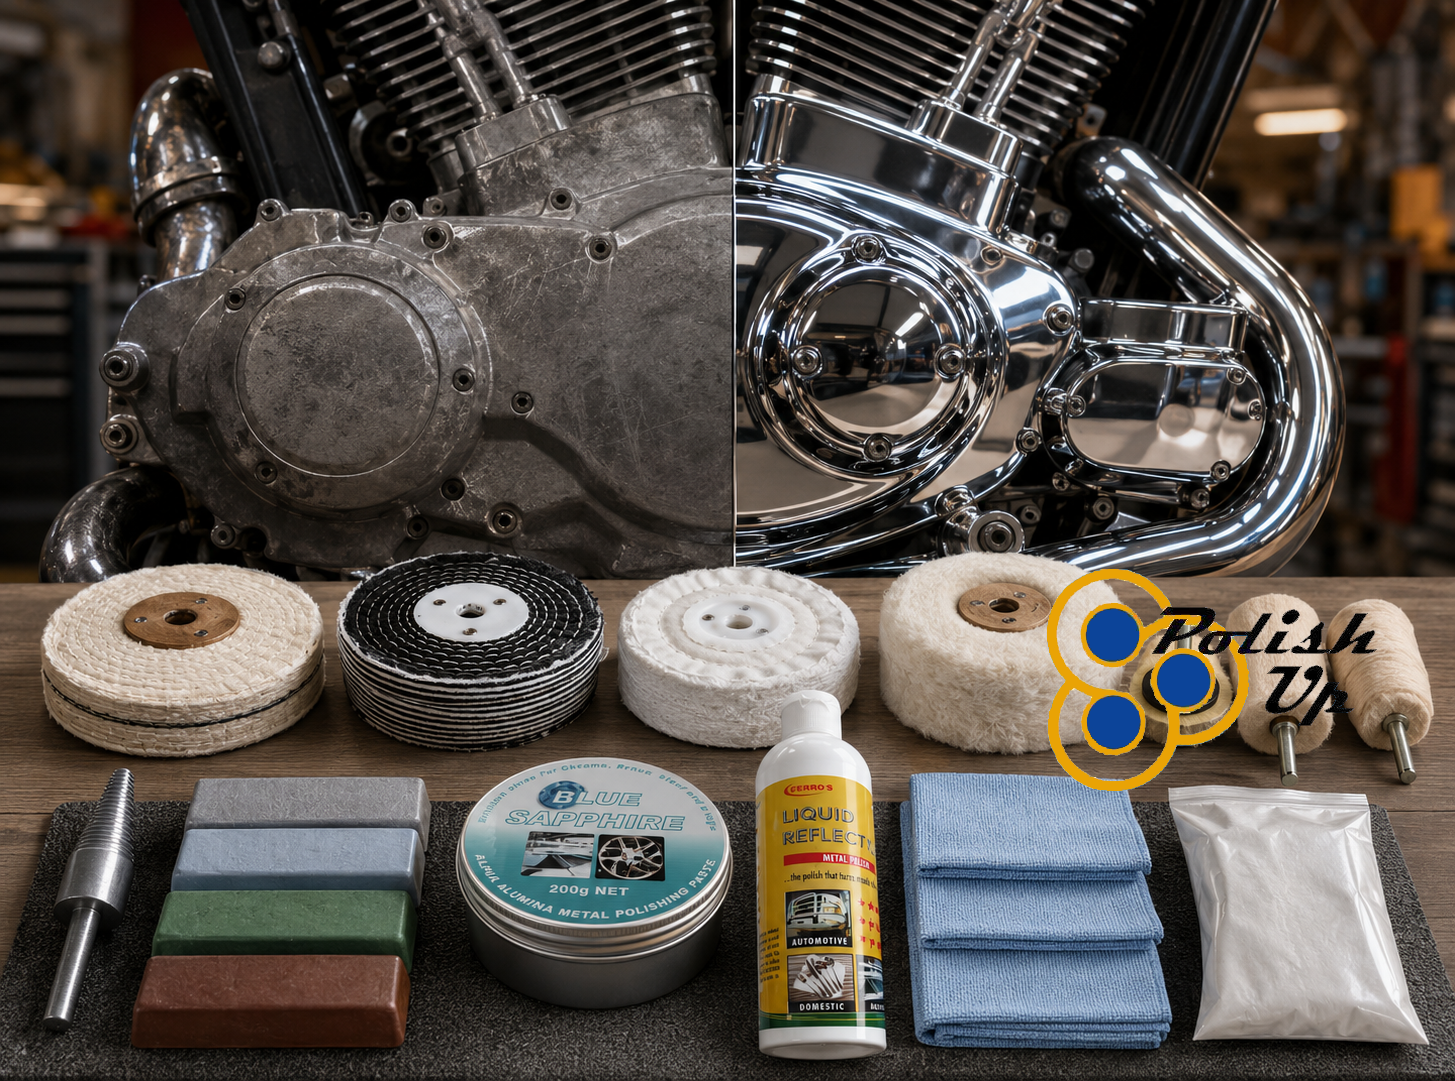
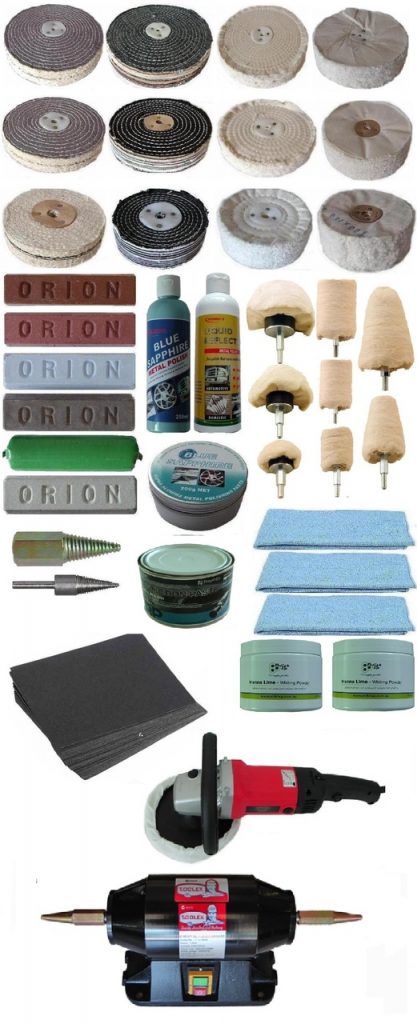
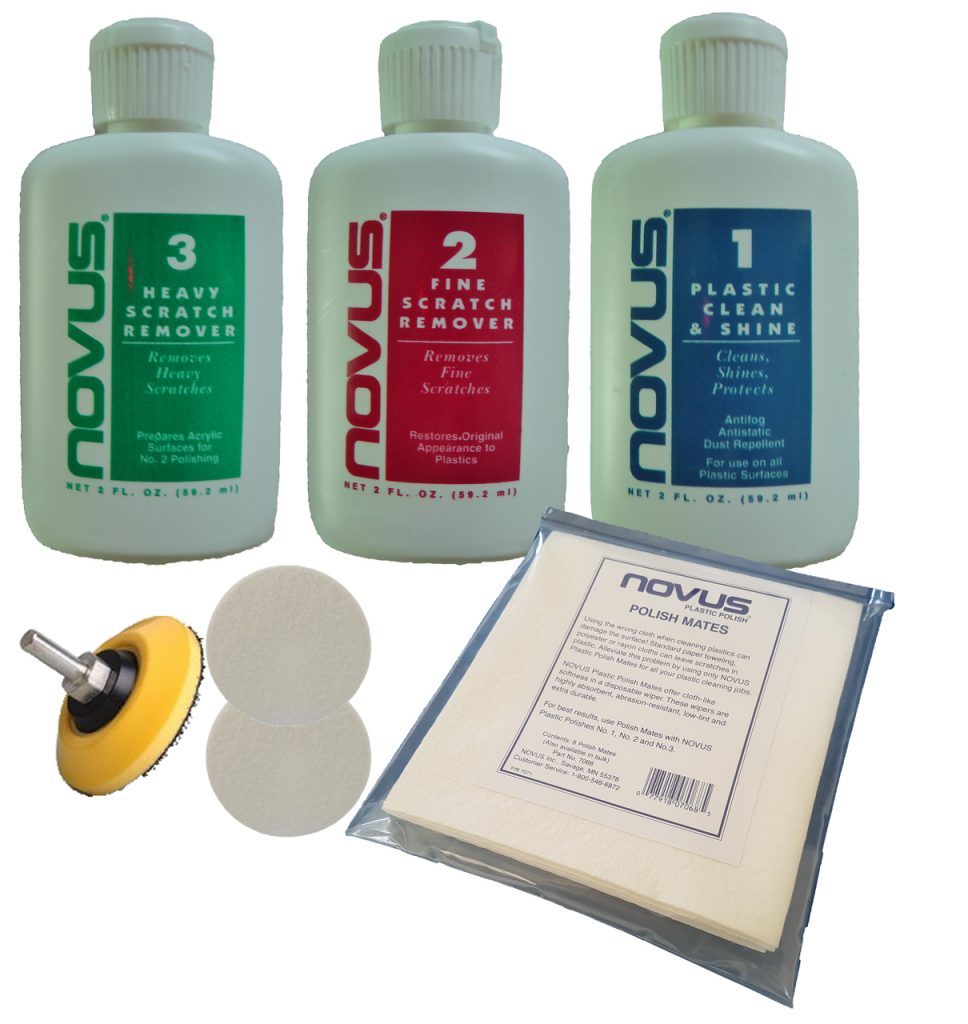
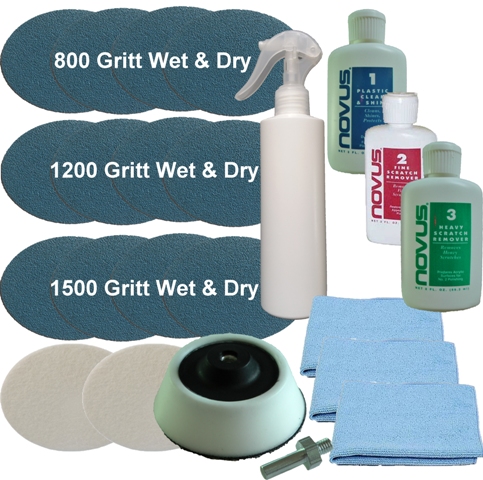
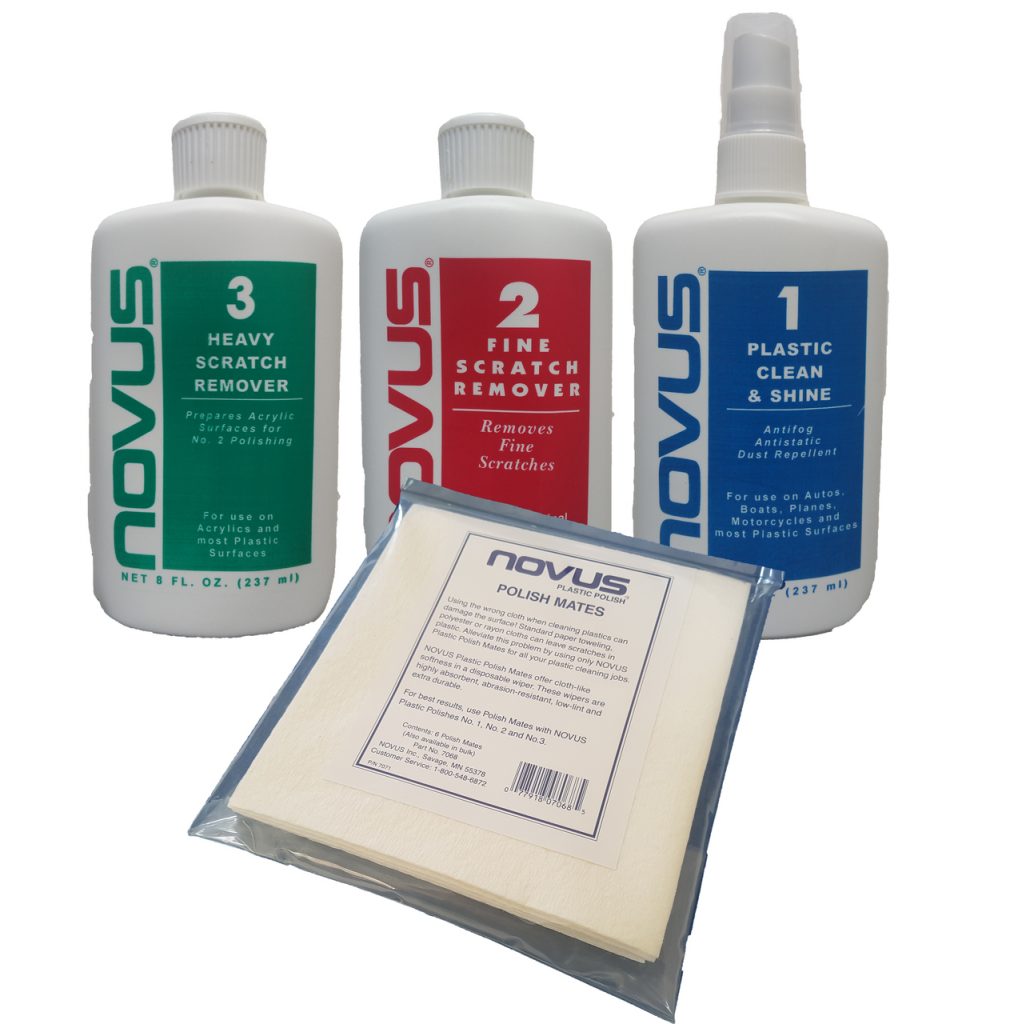
6. Metal Polishing Kits For Beginners, Workshops & Restoration
A metal polishing kit can make it easier to get started because it combines selected polishing wheels, compounds or accessories into one package. This can be useful for people polishing aluminium, stainless steel, brass, copper, chrome, alloy wheels, motorcycle parts, ute parts, truck components and other metal surfaces.
When choosing a polishing kit, consider:
- The type of metal you are polishing
- Whether the surface is flat, curved or detailed
- The machine you are using
- The starting condition of the metal
- Whether you need cutting, finishing or final bright polishing
View Polish Up machine and polishing kit options here:
Polishing Machine Kits For Metal & Surface Finishing
7. Why Buy Metal Polishing Supplies From Polish Up?
Polish Up supplies polishing machines, metal polishing kits, compounds, wheels, glass restoration products and polishing accessories to customers across Australia. Our range is built around practical workshop use, restoration work, vehicle polishing, stainless steel finishing and general metal polishing applications.
Whether you are polishing aluminium, stainless steel, brass, copper, chrome, alloy or glass, Polish Up aims to provide useful product options and practical polishing guidance for the job.
Browse the main Polish Up website here:
Wholesale & Retail Polishing Products In Australia | Polish Up
Frequently Asked Questions
What is the best machine for polishing aluminium?
For aluminium parts, alloy wheels and smaller workshop items, a bench polisher matched with the correct cutting and finishing wheels is usually a strong choice. For larger aluminium surfaces, a variable speed polisher may be more practical.
Can I use a bench polisher on stainless steel?
Yes. A bench polisher can be used on stainless steel when matched with suitable polishing wheels and compounds. The correct wheel and compound combination is important for achieving the desired finish.
What is the difference between a bench polisher and a variable speed polisher?
A bench polisher is fixed in place and is suited to controlled workshop polishing. A variable speed polisher is handheld and better for larger parts, vehicle accessories, truck parts and items that cannot easily be brought to a bench machine.
What is a pipe polisher used for?
A pipe polisher is used for round and curved metal surfaces such as stainless steel handrails, tube, exhaust parts, pipework and round bar. It helps polish areas that are difficult to finish evenly with standard flat polishing tools.
Do I need different compounds for different metals?
Different metals and polishing stages often require different compounds. Cutting compounds, colouring compounds and finishing compounds all serve different purposes. Matching the right compound to the metal and wheel can improve the result.
Where can I buy metal polishing machines and kits in Australia?
Polish Up supplies metal polishing machines, bench polishers, variable speed polishers, pipe polishers, polishing wheels, compounds, kits and accessories to customers across Australia.
Shop Metal Polishing Machines, Kits & Supplies
Find the right polishing machine, polishing wheel, compound or kit for your next aluminium, stainless steel, chrome, brass, copper, glass or restoration project.
View Polishing Machine Kits
View Polishing Wheels


